|
|
|
|
|
|
 |
|
|
|
|
|
|
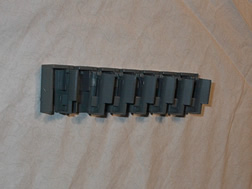
Features continued: The Thermaltake case has a tool free design, the 5 ¼ in drive bays and 3 ½ in drive bays each have clips that snap into the screw holes. When you're installing a hard drive in the 3 ½ in drive bay, you take the left and the right clip, included with the case, and attach both of them to there corresponding sides. Then you just align the drive up with the rails and slide the hard drive in until it clicks. When the clips click into place, the hard drive will be very secure. To pull the drive out, you just push on the tabs on the side and pull the drive out. |
|
|
 |
|
|
|
|
|
|
|
|
|
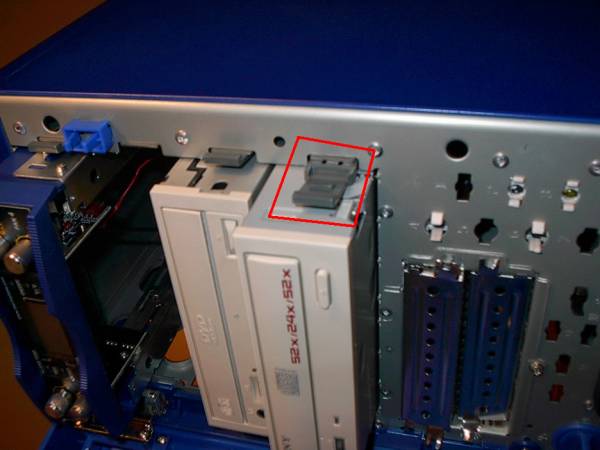
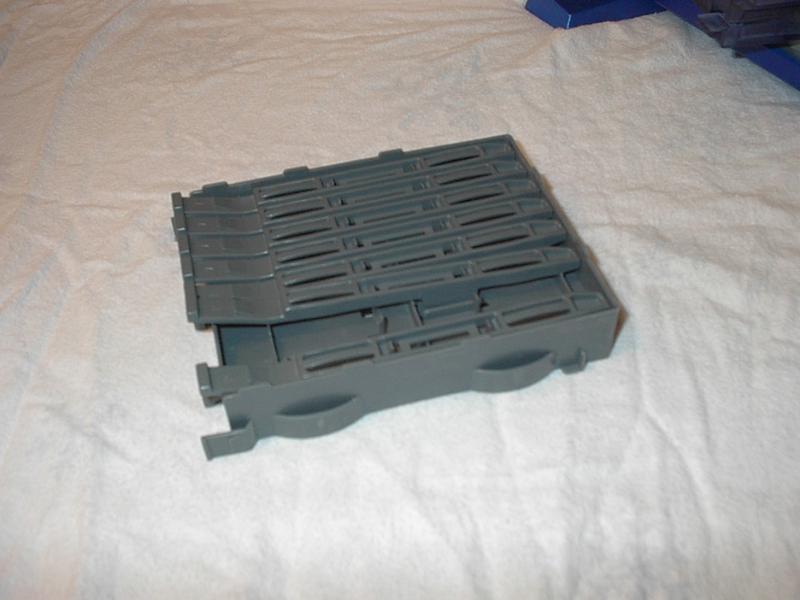
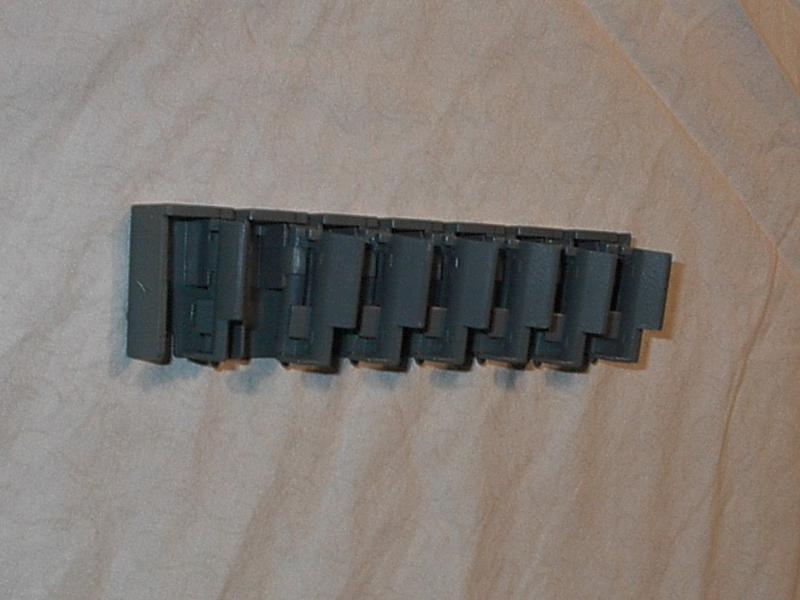
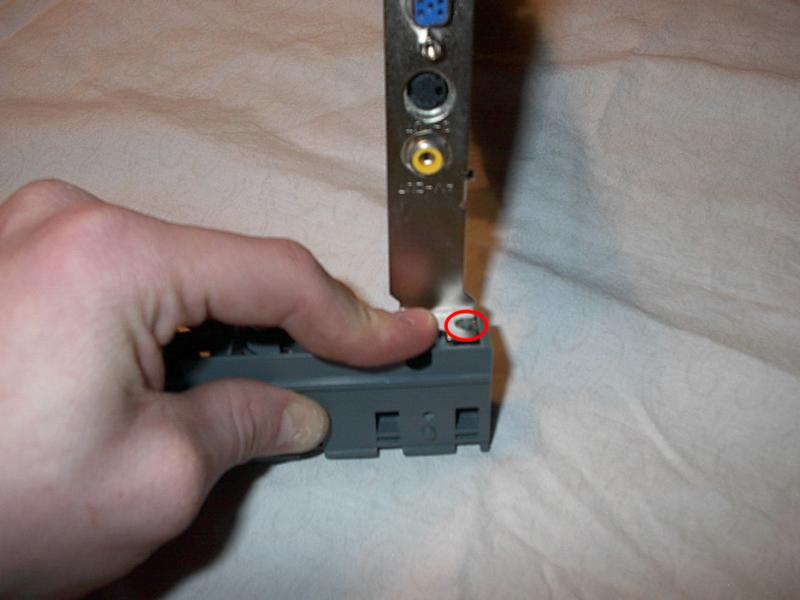
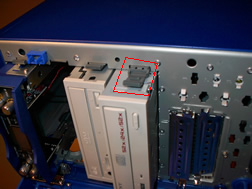
Another feature of this case is the tooless PCI clipping mechanism. This is a system were you lift a tab and pull it to the left, insert the card into the PCI slot, then push the clip through the hole pushing right and snapping it closed. I feel that the design is very bad in this case because
First: the clipping mechanism takes up space and makes it VERY hard to install a PCI peripheral. Next: the lever you push to the right is hard to get into the hole to secure the card. Furthermore: when you finally get the card in the PCI slot, and the clip pushed in and clamped, the card is not flush ageist the mettle, lessoning the satiability of the card in the PCI slot, I found this very annoying with the video card, because I tried to put in the VGA connector and the card was a few mm inside the case, and it did not properly fit in. I suggest you take it out, and buy some nice thumb screws. The clipping mechanism is very simple to take out, its just three screws behind it, in the back of the case, and after you take them out, you have a regular screwable PCI setup, that will hold all your PCI card in place firmly. |
|
|
 |
|
|
|
|
|
|
|
|
|
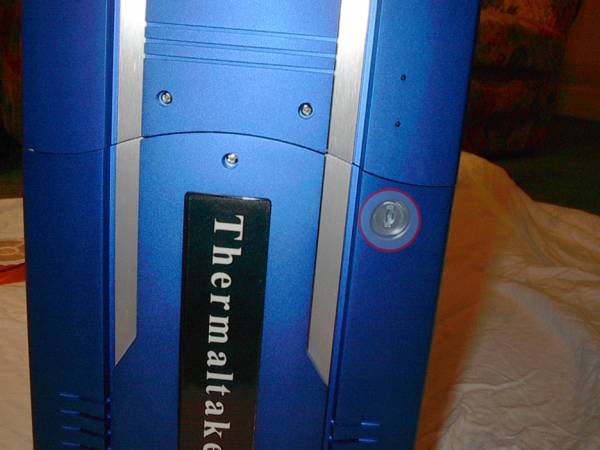
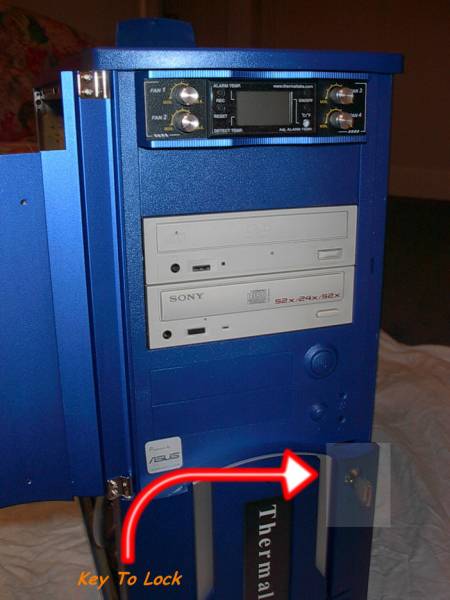
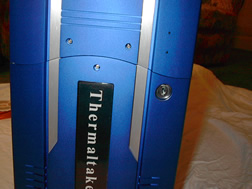
One other: nice feature about this case is the lock, most tall cases like this one now come with locks, and this is a good thing. Now no one in your house can turn your computer on to use it without unlocking the front panel. This also can be used for extra security at a LAN party, now it is less likely for someone to take a piece of equipment from your computer, if it is locked, otherwise they would have to pry the front off, to take a cd-rom or whatever else you have in your 5 ½ in drive bays or 3 ¼ in drive bays. Also, you need to turn a dial to open the side panel, this dial will lock the side panel or open it. I keep it unlocked at my house but if I were to go somewhere with my computer, I would lock that as well as the front panel to ensure that my computer is secure. |
|
|
 |
|
|
|
|
|
|
|
|
|
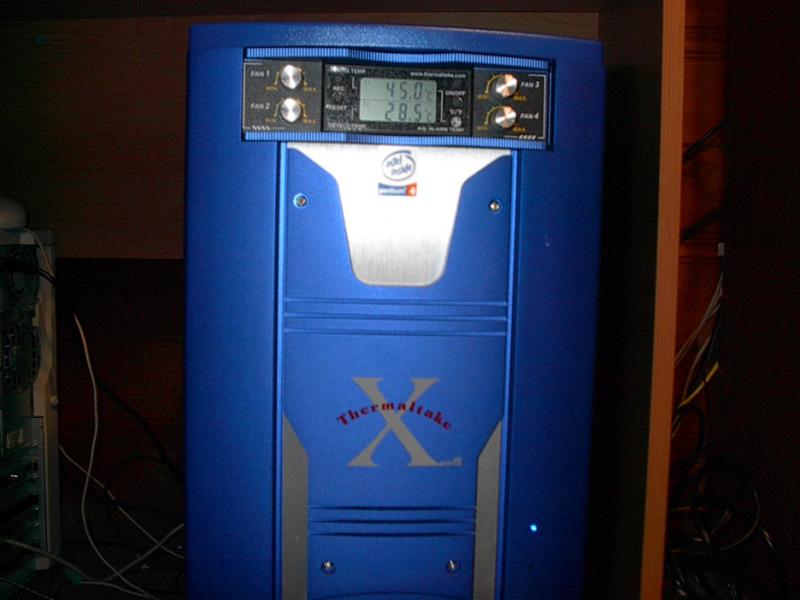
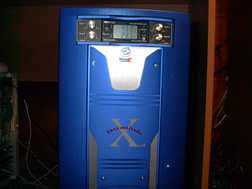
This case, the Xaser III, has a front panel door that swings open, locks and gives the case an overall nice look. The door is well crafted, it is made out of aluminum and some plastic, this door also helps keep those ugly drives from being seen. The door also helps keep dust out of your cd-rom drives, this will ensure that stay in working condition and dust free. One thing you must watch out for, if you have a fan controller with big knobs on it, make sure there is enough room for the door to close, because I would estimate ¼ of an inch between the case and the door, and that's being generous. Thermaltake has its logo on the front of the door. Overall the door is a nice feature of this case. |
|
|
 |
|
|
|
|
|
|
|
|
|
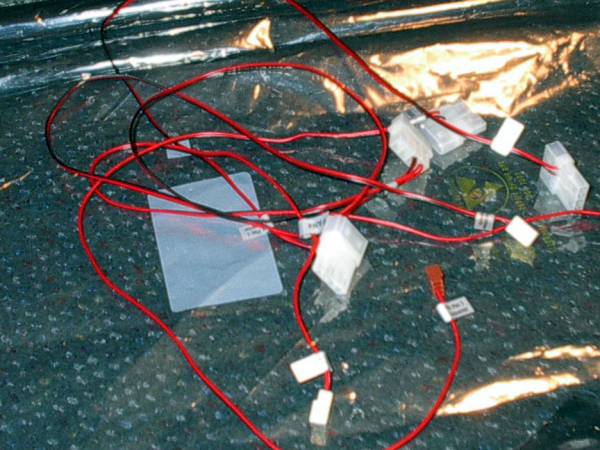
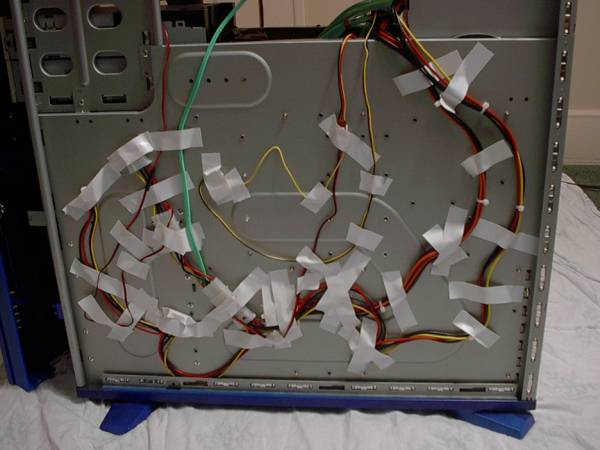
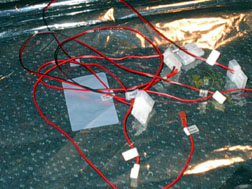
There are a few ways to setup this case, the quiet and messy way or the need and more efficient way. Quiet and Messy There many wires that must be connected to the Hardcano 9. There is a separate moltex connector and wire for each knob on the Hardcano 9. So there are 4 knobs, if you want to control 4 fans. But if you want to control fans you must first use 2 more moltex connectors on your power supply to supply the power for the fan controller, then you can hook up a fan for every knob, or you may hook up to 3 or more fans on knobs 2 and 3. Thus being more efficient with the fans. But read the included manual for more detailed instructions. There is also a pass-through moltex connector for the Hardcano 9's temperature monitor for the CPU. You can use the moltex connector for that, or use 2 AAA batteries. Then you have the thermal probe wire. So there is A LOT of wires hear, and way to many to hide. The Efficient Way
The best way to do this, is to hook 4 fans together using there pass-through moltex connector, and then hook those 4 fans into 1 moltex connector coming from the power supply. I just unplugged the 4 moltex wires from the Hardcano 9. Then I hooked the remaining fans up with free moltex connectors near by. Then all that's left is the temperature probe and the temperature monitor moltex connector, and that makes for less wires at the cost of noise levels. But, the Thermaltake fans are so quiet, I could not even tell the difference between using the fan controller with the fans and not using the fan controller with the fans.
This is an example of the noise level from inside the case and outside the case, using all the case fans, and a 7,000 rpm Thermaltake spark 7+.
|
|
|
 |
|
|
|
|
|
|
|
|
|
|